Friday, May 01, 2015

Grandma's Classics: rhubarb cake


Grandma's recipe is by far the quickest and easiest way to turn these tart beauties into something truly enjoyable.
All it takes are a few rhubarb stems, eggs, flour, butter, sugar and 30 minutes bake...


Grandma's rhubarb cake

15-20 rhubarb stems

250g butter
200g sugar
4 eggs
400g flour
1 teaspoon baking powder
1 teaspoon vanilla extract

Preheat the oven to 180°C (360°F).

All ingredients should have room temperature to combine well.

Butter the bottom of your baking mold and dust it with flour; remove any excess of flour.
Beat the butter, sugar and vanilla on highest speed until creamy, 4 to 5 minutes, in a bowl with the paddle attachment of the mixer.

Turn the mixer to medium-low speed and add one egg after another, beating for about a minute after each egg.

Turn the mixer to low speed and slowly add the flour together with the baking powder.  Don't overbeat, to prevent the batter getting chewy.

Transfer the batter to the baking mold, smooth with a spatula and arrange the rhubarb stems on top. Until this point it's the exact "Grandma" version. No extravaganzas as you already know, Grandma kept it honest and simple.

I experimented with precooking the rhubarb stems in a mixture of butter, sugar and lemon juice (one tablespoon each) for a few minutes. Don't let the rhubarb turn soft, just let it adopt the caramel flavour.  Heaven!

Bake at 180°C (360°F) for about 30 minutes or until the rims turn golden brown.

Before serving sprinkle with icing sugar.


Enjoy it with a good cup of coffee!


Grandma in her twenties


Sunday, April 19, 2015

turquoise

Lately I have been attracted by the blue and turquoise hues. They pop up everywhere -sometimes in very small amounts, sometimes in unexpected places-  waiting to be caught by my camera.


Sunday, March 08, 2015

this super pretty breakfast....

.... has been inspired by Amy Chaplin's brilliant book at home in the whole food kitchen.

Her coconut and quinoa pancakes are completely flour- and gluten-free, though unexpectedly tasty and tender.  If you want to go for the vegan version just replace the egg for a "chia egg". The pancakes are prepared in a minute provided you haven't forgotten to soak the quinoa before you went to bed.

The slight citrus flavour of the pancakes went perfectly well with the fresh blood orange.


Coconut and Quinoa Pancakes (recipe by Amy Chaplin)
makes ten 10cm (4 inch) pancakes

1/2 cup quinoa , washed and soaked 12-24 hours in 1 cup water
1/2 cup rolled oats
3/4 cup unsweetened, shredded coconut, divided
1 cup almond milk
1 egg
2 tablespoons melted extra virgin coconut oil, plus more for cooking the pancakes
2 teaspoons vanilla extract
1 teaspoon aluminium-free baking powder
1/2 teaspoon cinnamon
zest of a large lemon

to serve:
seasonal fruit and berries
maple syrup or honey, optional
lemon wedges, optional


Drain and rinse quinoa and place it in an upright blender. Add oats, 1/4 cup coconut, almond milk, egg, coconut oil, vanilla, baking powder and cinnamon.
Blend on high speed for about 40 seconds or until completely smooth. Add remaining coconut and lemon zest and stir with a rubber spatula to combine.

Warm a cast iron skillet over medium heat , add about 1 teaspoon coconut oil and spoon in about 1/4 cup batter for each pancake. Cook for about 3 minutes or until surface is covered with bubbles and bottom is golden and beginning to brown. Flip and cook for another 2 minutes.

These pancakes are best right off the pan, but they can also be kept warm in a 90°C (200°F) oven as you cook the whole batch. Serve with blood orange and maple syrup.


❤️


Saturday, February 21, 2015

raw vegan (divine) layered cake with raspberry and chocolate


This beauty of a cake was given to me by lovely Cora. It is a raw vegan layered cake, a species of cake that has always intrigued me, and yet I had never tried one.
After the first taste I knew, this cake is worth all the cashews and the fridge and freezer waiting times. Yes, in fact,  I am making a mini version just now for my Sunday guests. Holding my thumbs that it will be just as delicious as the original!


layered cake with raspberry and chocolate

crust
2 cups almonds
15-20 dates
pinch of salt

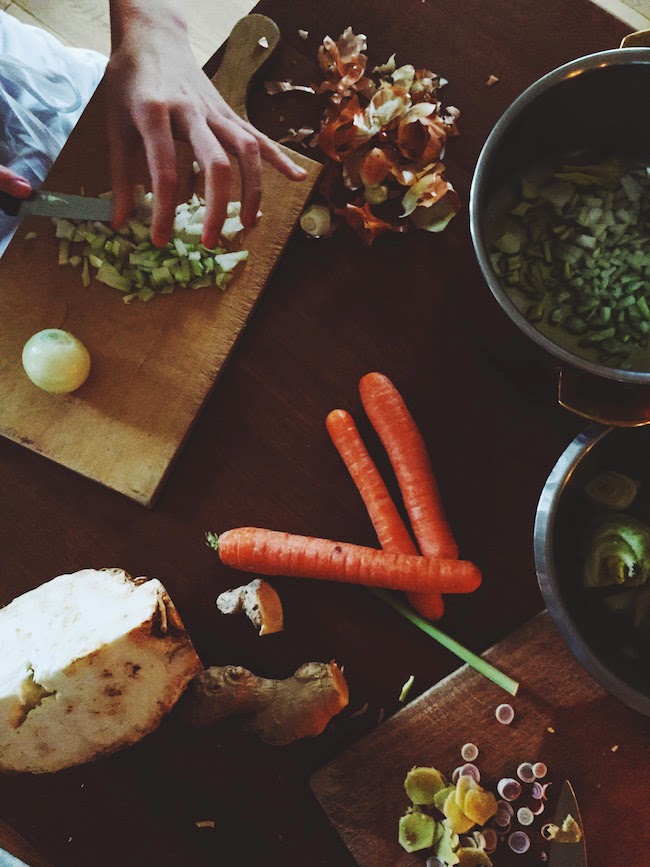
Soak the almonds and the dates for 6 hours or overnight. Process the almonds and the dates until it all sticks together. If you end up with a little dough ball it's fine. Press it into the bottom of a spring form and put it into the freezer for one hour.

chocolate layer
100g cashews
15 dates
pinch of salt
pinch of vanilla
splash of freshly squeezed lemon
1 cup of soaking water (of the dates and cashews)
50g raw cocoa butter
3 tablespoons cold-pressed coconut oil
3 tablespoons raw cocoa powder

raspberry layer
100g cashews
15 dates
pinch of salt
pinch of vanilla
splash of freshly squeezed lemon
1 cup of soaking water (of the dates and cashews)
50g raw cocoa butter
3 tablespoons cold-pressed coconut oil
300g raspberries


Soak the cashews and the dates for 6 hours. Blend each layer with the salt, vanilla, lemon and one cup of the soaking water until smooth. I recommend using your Vitamix or any other high-speed blender to make the layers as creamy as possible.
Melt the cocoa butter and the coconut oil gently on low heat and blend it into the mixture.
Add the the raspberries respectively the chocolate.
Pour the raspberry layer onto the crust.
Pour the chocolate layer straightaway onto the raspberry layer. Let it set in the freezer for two hours. No longer, because you don't want the liquid to crystallize.
Put the cake into the fridge during the night to solidify.

Before serving cut along the edge to remove the ring of the spring form.  Decorate with shredded coconut, fresh raspberries and dust slightly with palm sugar.


❤️

If you skip the cocoa butter and the coconut oil the mixture will make for a delicious layered cream dessert or even for an ice cream if you put it into the freezer for a few hours.

There's no limit in combining flavours: vanilla and mango, chocolate and banana, rose and mint.....


 raspberry & chocolate on Instagram


Tuesday, February 10, 2015

homemade eggnog from scratch


This is quite a different "golden milk" than the one in my  previous post. Definitely none of its ingredients belongs to the category health food. But MIND OVER MATTER: Christine's homemade eggnog is so delicious (added to any dessert) that it certainly does have a positive effect on well-being. 

When I asked her to pass the recipe on to my readers, she popped up in my kitchen with a basket full of her preferred ingredients ready to give me the masterclass.


Ingredients:

10 fresh egg yolks
500ml milk
500g icing sugar
1 vanilla pod, scraped
400ml Schnaps (it should be a high percentage, clear spirit; Christine prefers 69,5% Prima Sprit)

Slowly bring the milk, the sugar and the vanilla to a boil, continuously stirring. Let the mixture cool to room temperature.
Separate the egg-whites from the yolks, discard the whites.
Pour the sweet vanilla milk into the blender. Run the blender at lowest speed and add the yolks. Once they are blended in, slowly add the spirit in a fine and even stream. That's it!

The eggnog should be stored in a cool and dark place. If you keep it in the fridge it will become quite solid after a while.


Wednesday, January 21, 2015

grey days // golden milk


Ayurvedic golden milk is a wonderful beverage to have in the evening on grey January days like these. It's not only warming and nourishing but also extremely healthy due to its main ingredient turmeric.

Turmeric is part of the ginger family and its yellow powder is widely used as a spice in Asian cooking. It has high concentrations of curcumin which has anti-inflammatory, antioxidant and anti-bacterial properties. It helps to prevent or relieve symptoms of arthritis, Alzheimer, high cholesterol, cancer, diabetes, heartburn, jaundice, liver problems and menstrual pains. In ayurvedic and Chinese medicine it's called the anti-aging spice.
..

Großteich Moritzburg


How to prepare the golden paste

1 cup water
3 tablespoons turmeric powder

Cook water and turmeric in a sauce pan until you have a creamy and smooth paste. This will take about 15 minutes. The cooking process makes the turmeric taste less bitter. You can store the paste in the fridge for 2 -3 weeks.


How to prepare the golden milk

1 1/2 teaspoons unrefined coconut oil (or almond oil)
1 teaspoon golden paste
5 cardamom pods, peel removed, crushed (or cardamom powder)
a pinch freshly ground pepper ( increases your body's absorption of turmeric)
1/4 teaspoon vanilla powder
2 cups milk ( I use hemp seed milk , almond or oat milk)
1 teaspoon honey or maple syrup

Combine all the ingredients except the honey in a sauce pan. Turn the heat on medium. While heating stir constantly and do not allow the mixture to boil. Before serving add the honey or maple syrup.

Stir gently with a spoon or a cinnamon stick because the spices tend to sink down.


Monday, January 05, 2015

Ottolenghi's hot and sour mushroom soup


Yotam Ottolenghi's cookbook Plenty More and the filters of VSCOcam : two things I enjoyed spending time with during the Christmas holidays . The hot and sour mushroom soup, photographed with the VSCOcam app in F3 filter, is a little taster for you. My family loved both of it!


Hot and sour mushroom soup (slightly adapted)
(serves six) 


1 tbs sunflower oil
3 small onions (roughly chopped)
3 medium carrots (peeled and sliced)
6 celery staks (sliced)
6 garlic cloves, peel and left whole
a chunk of fresh ginger root /peeled and sliced)
3 lemongrass staks, roughly chopped
6 prunes
1 red chili
(6 star anise; in brackets, because I didn't use any)
2 tbs tamari soy sauce
6 lime leaves
1tbs coriander, pestled
2 tbs red Tandoori paste ( instead of Tamarind paste, which I had not in my pantry)
toasted sesame oil to finish

a choice of mushrooms ( I used brown champignons, dried and soaked cèpes, chanterelles, shitaake and and chinese tungkow), sliced

juice of about 2 limes
coriander leaves
basil leaves
some peas ( green beans in the original recipe)

I also added a tbs of vegetable stock and I didn't discard the vegetables as Ottolenhi suggested. As we wanted a more filling meal I added some rice noodles to the soup. Perfect for a warming lunch. 


Begin by heating oil in a sauce pan and add the onion, carrot, celery, garlic and ginger. Cook on a high heat for about 5 minutes until the edges begin to colour. Pour in 2 2.5 liters of water and add the lemongrass, prunes, chilli, soy , lime leaves and coriander. Bring to the boil, then reduce to a low simmer and cook for 45 minutes.

Add the Red Tandoori paste , followed by the mushrooms and cook for 1 minute.Then add the remaining ingredients apart from the sesame oil, along with 1 1/2 teaspoons salt - and some instant  vegetable stock, if necessary. Allow to heat for a further minute.
Ladle into bowls and finish with a little drizzle of sesame oil in each bowl.